
S
Samicheen Khariwal
Guest
Learn how to easily integrate biometric Authentication like Face ID and Touch ID in your native iOS and Android mobile apps with NativeScript and Kinvey.
Have you ever wondered how many secure applications are using biometric authentication? In this article, we will discuss how to handle biometric authentication in mobile apps using Face ID and Touch ID. If you want to give your app a feature that is not only secure but will also be modern and convenient enough to delight your users, with the right technology you can easily add this functionality to your own app.
Some common examples of biometric authentication are Face ID and Touch ID.
Now let’s take a look at how to set up a sample application using NativeScript and Kinvey which will demonstrate how we can integrate biometric authentication in native iOS and Android apps. Moreover, if the biometric authentication fails, we will switch back to our standard login procedure (Login and Register).
Environment Setup
First, we need to set up the environment to build the application. There are four steps:
For easy installation on macOS use homebrew, a package manager for macOS.
For a detailed explanation of these start-up steps, you can check out this quick setup documentation.
Integrate Biometric Authentication
Add the plugin ‘nativescript-fingerprint-auth’ for biometric authentication in your NativeScript app using the following command:
tns plugin add nativescript-fingerprint-auth
The code above, which is responsible for integrating Touch ID as well as Face ID, then needs to be added to your project.
A Note about Face ID
For Face ID, an additional usage string is required which explains the reason for using Face ID in the application. This message is stored as key value pair in the application’s Info.plist file (AppResources/iOS/Info.plist)

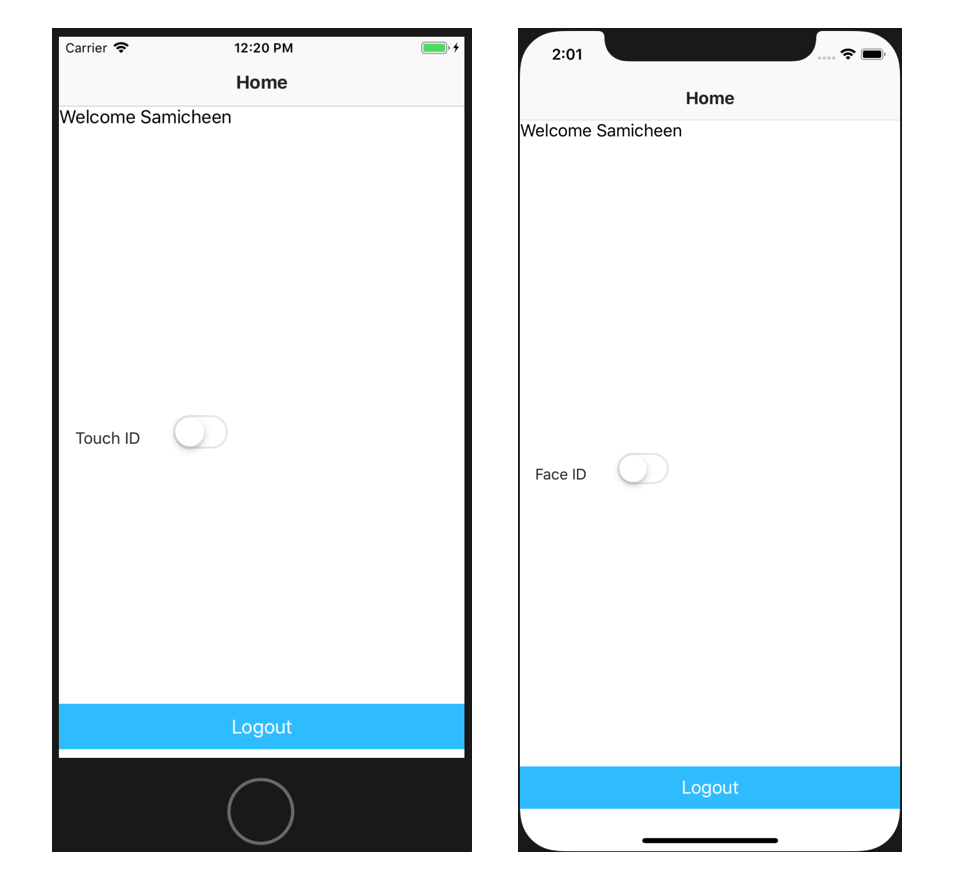
Enable Touch ID or Face ID
When a user opens the application, they will be presented with a log in screen. Once user logs in, they will have the option to enable Face ID or Touch ID.
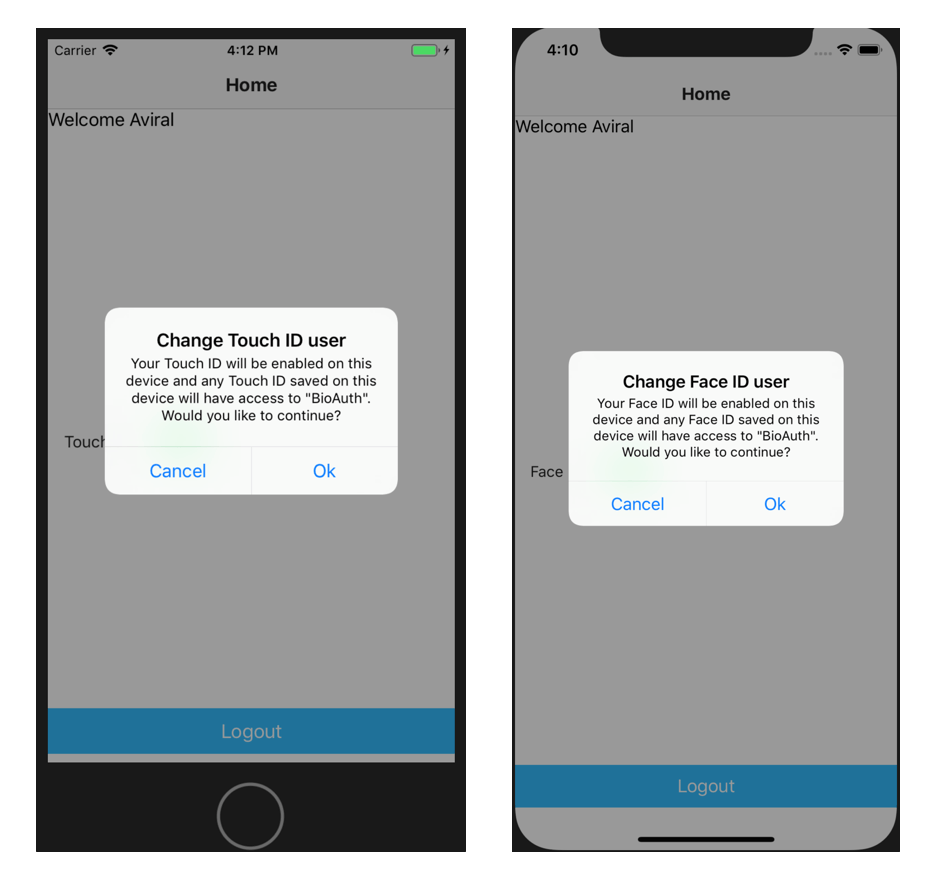
A Note about Changing the User
The app remembers an “Application User,” which is the user whose biometric information is stored in the device. If another user logs in and wants to enable Touch ID or Face ID, they will be asked to confirm if they want to change the application user.
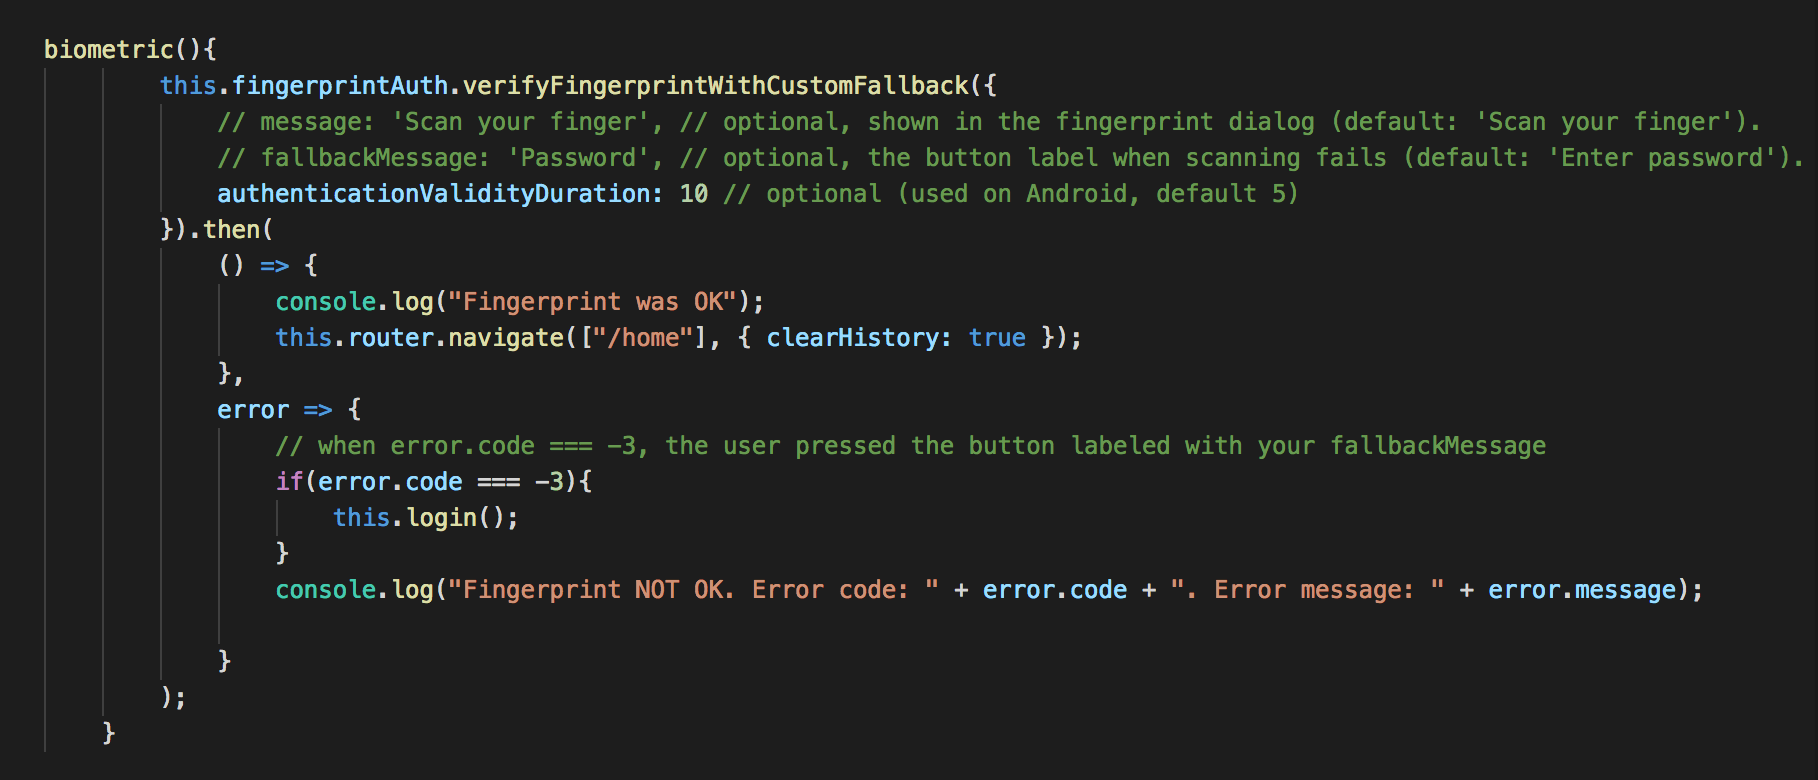
To enable Face ID/ Touch ID and display a confirmation message as shown above, the code below needs to be added:

Using Biometric Authentication
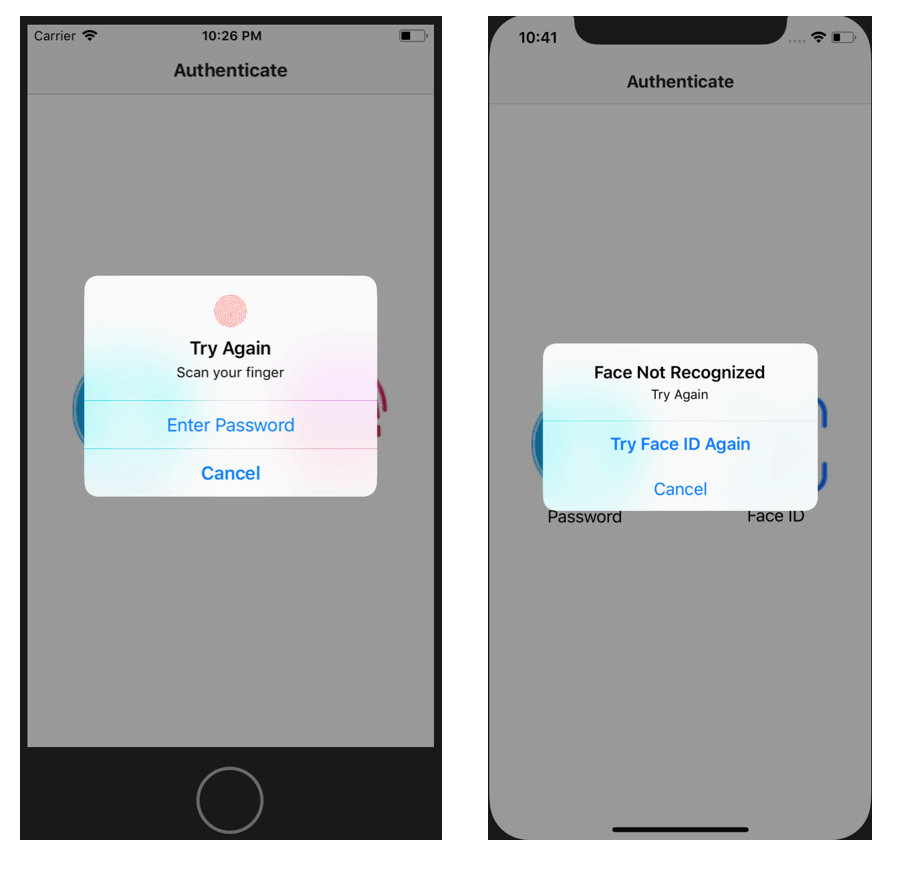
If the device supports Touch ID/Face ID, the user will be presented with the option to use credentials or to use Touch ID/Face ID:
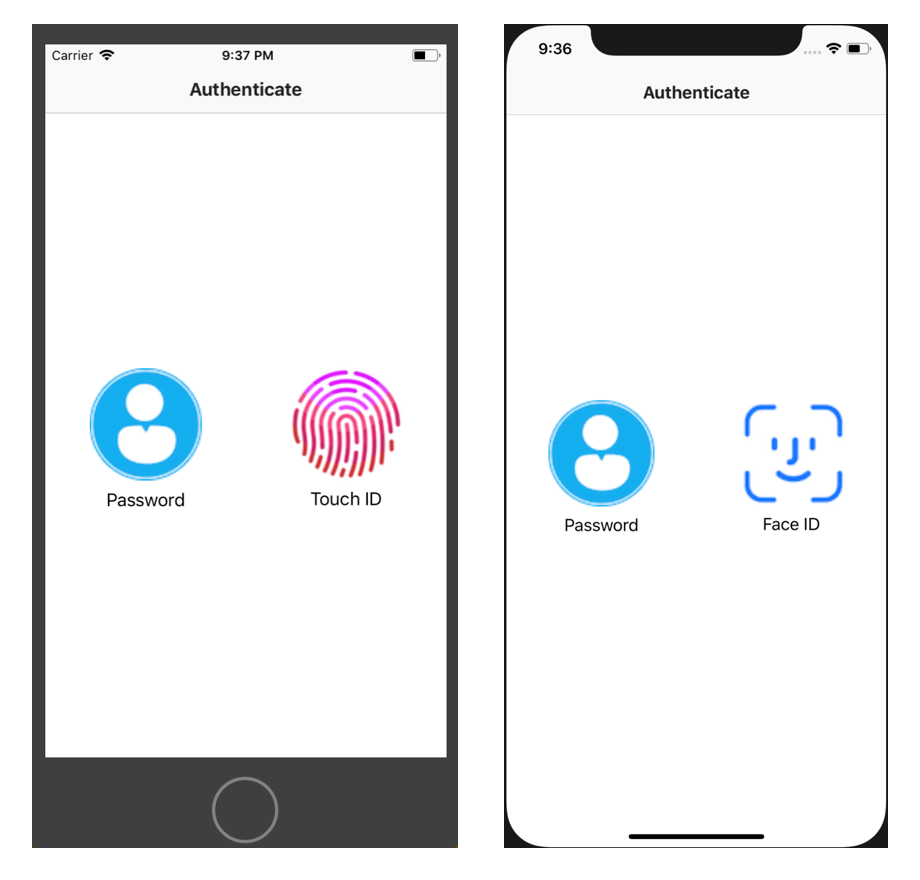
If Touch ID fails, the user will have the opportunity to revert to using a typed password using ‘Enter Password’ option.
If Face ID fails, the user will have the opportunity to try again or cancel out of Face ID and try another option (in this case, the only other option is to enter a password).
Login and Register (If Biometric Authentication Fails)
Not all devices are compatible with all forms of biometric authentication, or the authentication may simply fail. It’s important to have a backup system that can allow a traditional username and password. This functionality can easily be implemented using NativeScript and Kinvey.
To create this form, we can just follow the five step process below (links to the documentation will follow each step).
In this article, we looked at how to integrate biometric authentication in mobile apps and associate it with an application user. The main benefit of biometric authentication is that you can easily authenticate the user without remembering and entering complex passwords. As you have seen in this article, it is very easy to integrate biometric authentication in your apps.
We achieved this using NativeScript. To learn more about NativeScript with Angular click here.
Moreover, as you can see, we used Kinvey to handle the Login, Registration and Logout functionality without having a headache of maintaining sessions and storing the user details in the database. Kinvey does it all for you. If you’d like to get started with Kinvey please sign up for free account.
Get Started with Kinvey
You can take a look at the full source code used in this article on GitHub here.
Continue reading...
Have you ever wondered how many secure applications are using biometric authentication? In this article, we will discuss how to handle biometric authentication in mobile apps using Face ID and Touch ID. If you want to give your app a feature that is not only secure but will also be modern and convenient enough to delight your users, with the right technology you can easily add this functionality to your own app.
Some common examples of biometric authentication are Face ID and Touch ID.
- Face ID:
Face ID is a Face Unlock facial recognition system designed and developed by Apple for the iPhone X. It is a type of biometric authentication technology intended to succeed Touch ID, a fingerprint-based system.
- Touch ID:
Touch ID is a fingerprint recognition feature that allows users to unlock Apple or Android devices, make purchases, and authenticate users in apps. It has been part of all iPhones from 2013's iPhone 5S through 2017's iPhone 8 and 8 Plus. It has been on all iPads since the iPad Air 2. It is also available on Android devices (Fingerprint Scanner).
Now let’s take a look at how to set up a sample application using NativeScript and Kinvey which will demonstrate how we can integrate biometric authentication in native iOS and Android apps. Moreover, if the biometric authentication fails, we will switch back to our standard login procedure (Login and Register).
Environment Setup
First, we need to set up the environment to build the application. There are four steps:
- Install Node.js
- Install NativeScript CLI
- Install iOS and Android requirements to test your application
- Verify the setup
For easy installation on macOS use homebrew, a package manager for macOS.
For a detailed explanation of these start-up steps, you can check out this quick setup documentation.
Integrate Biometric Authentication
Add the plugin ‘nativescript-fingerprint-auth’ for biometric authentication in your NativeScript app using the following command:
tns plugin add nativescript-fingerprint-auth
The code above, which is responsible for integrating Touch ID as well as Face ID, then needs to be added to your project.
A Note about Face ID
For Face ID, an additional usage string is required which explains the reason for using Face ID in the application. This message is stored as key value pair in the application’s Info.plist file (AppResources/iOS/Info.plist)
Enable Touch ID or Face ID
When a user opens the application, they will be presented with a log in screen. Once user logs in, they will have the option to enable Face ID or Touch ID.
A Note about Changing the User
The app remembers an “Application User,” which is the user whose biometric information is stored in the device. If another user logs in and wants to enable Touch ID or Face ID, they will be asked to confirm if they want to change the application user.
To enable Face ID/ Touch ID and display a confirmation message as shown above, the code below needs to be added:
Using Biometric Authentication
If the device supports Touch ID/Face ID, the user will be presented with the option to use credentials or to use Touch ID/Face ID:
If Touch ID fails, the user will have the opportunity to revert to using a typed password using ‘Enter Password’ option.
If Face ID fails, the user will have the opportunity to try again or cancel out of Face ID and try another option (in this case, the only other option is to enter a password).
Login and Register (If Biometric Authentication Fails)
Not all devices are compatible with all forms of biometric authentication, or the authentication may simply fail. It’s important to have a backup system that can allow a traditional username and password. This functionality can easily be implemented using NativeScript and Kinvey.
To create this form, we can just follow the five step process below (links to the documentation will follow each step).
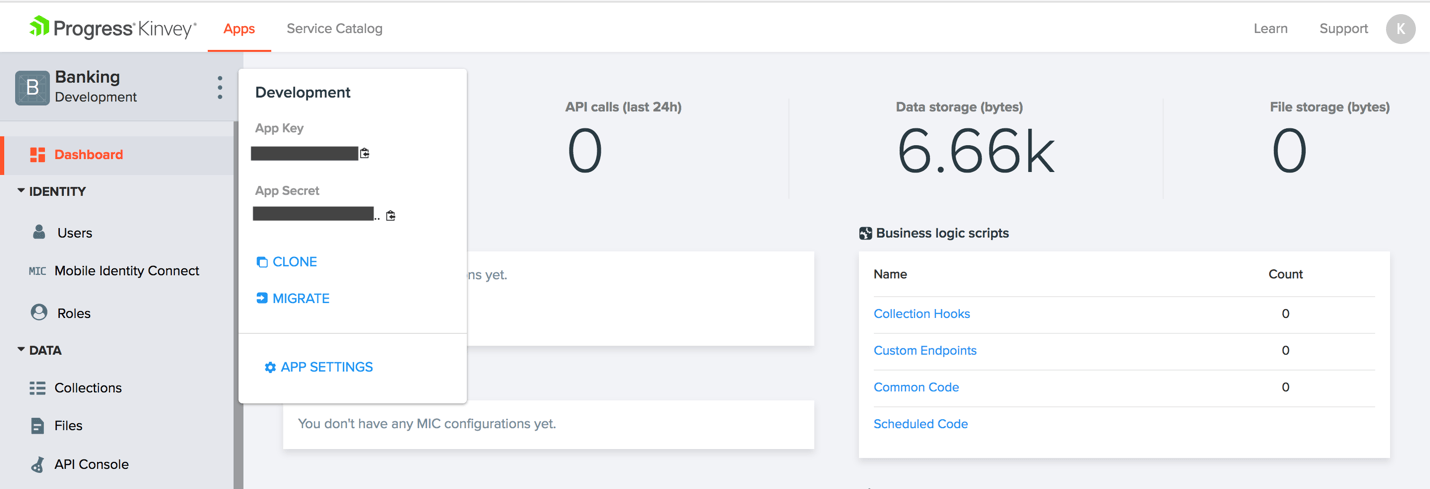
- Create a new app in Kinvey Console (see docs for more):
.png?sfvrsn=8635086c_0)
All the apps you’ve created are displayed on the Kinvey Apps tab:
.png?sfvrsn=5a38d32_0)
- Connect your project to this app using App Key and App Secret (see docs for more):

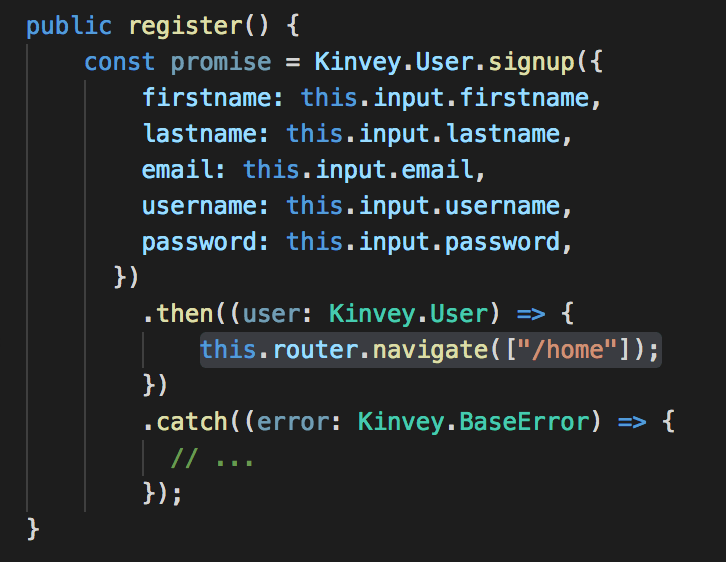
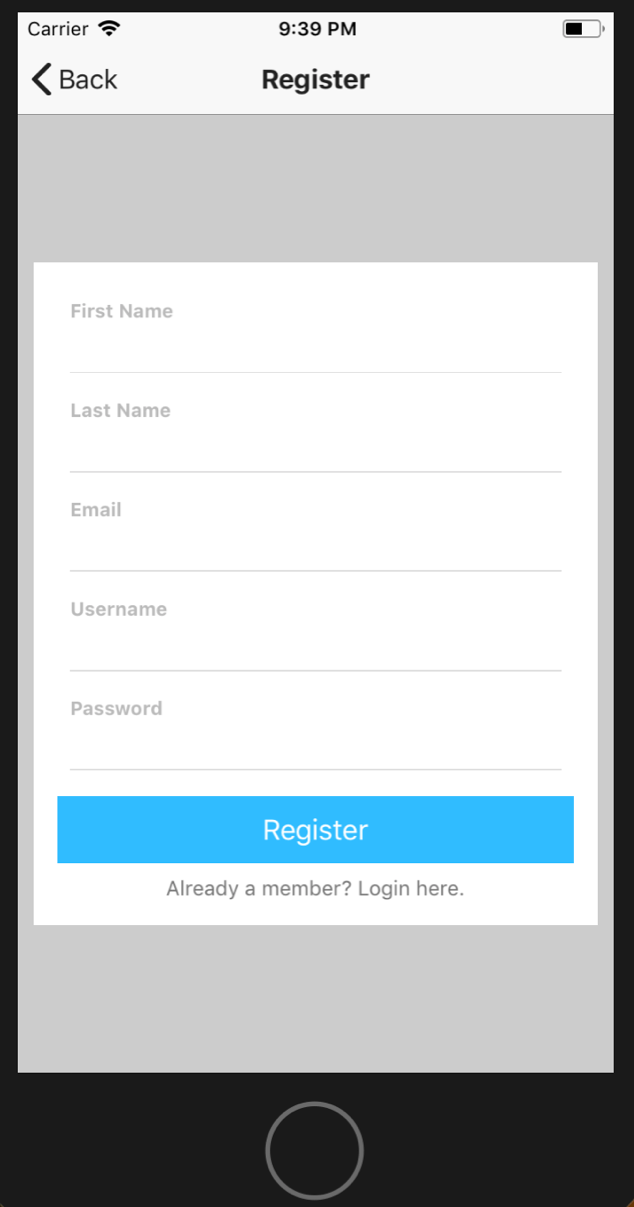
- Create the registration page where the user can create an account (see docs for more):
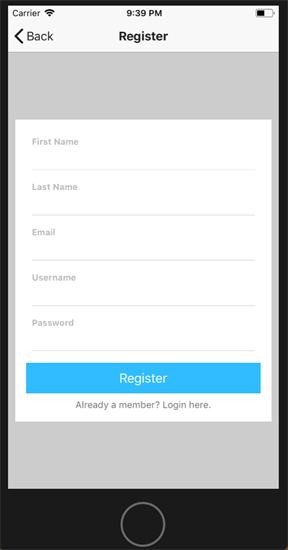
With just a few lines of code, we can ensure that after a successful registration, the user is redirected to the application’s home page.
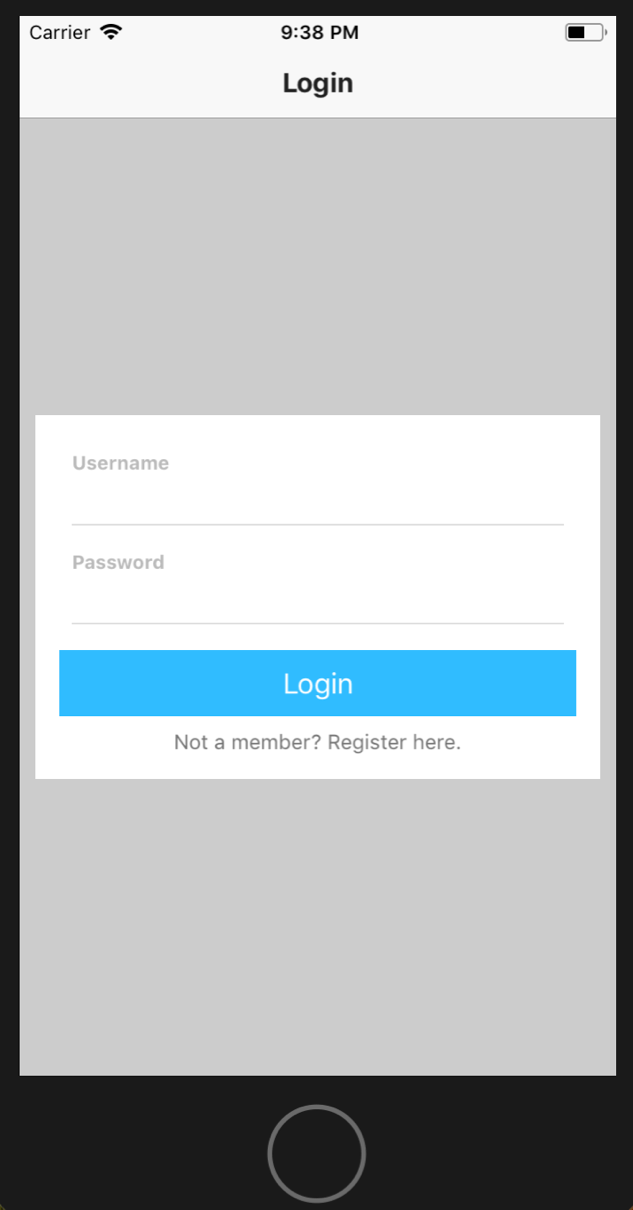
- Create the login page where the user can authenticate using credentials (see docs for more).
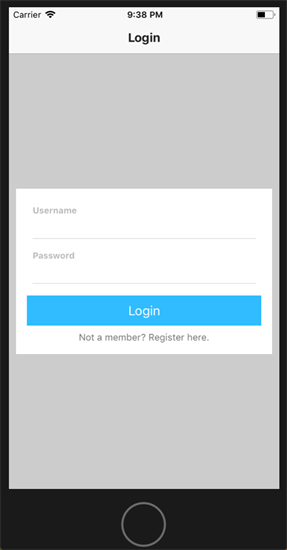
Again, with just a few lines of code, we can ensure that after a successful authentication the user is redirected to the application’s home page.

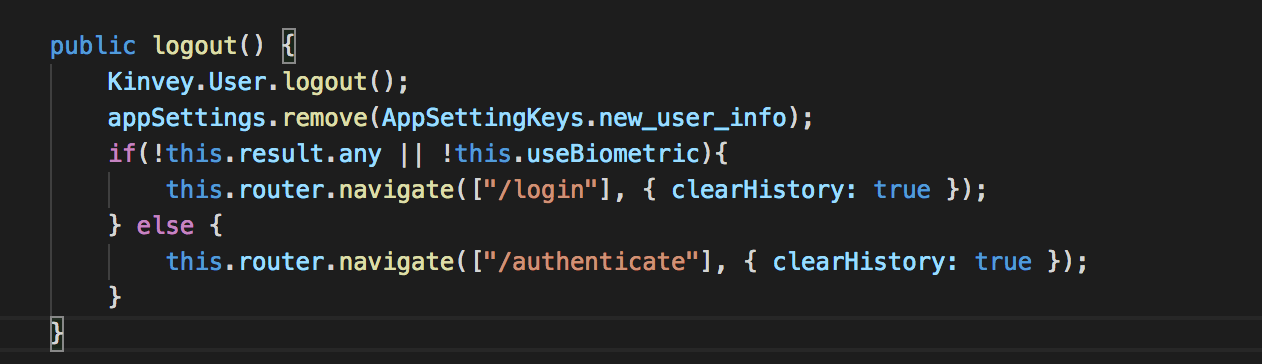
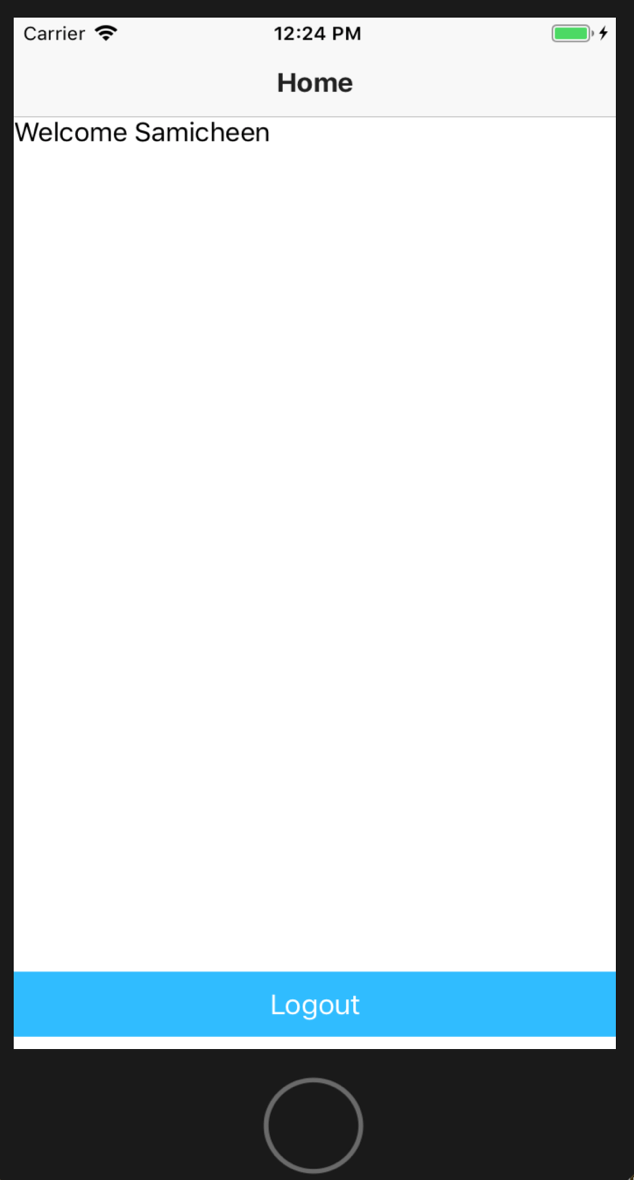
- Finally, we have to give the user the option to logout on the home page of the application:
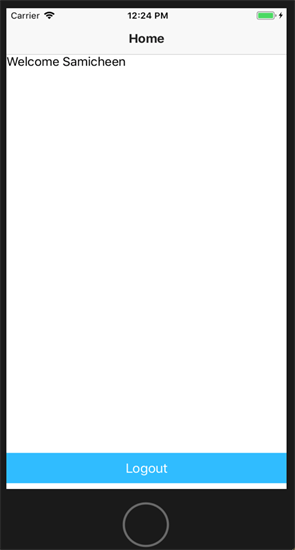
After logging out, the user is redirected to the login page if the device doesn’t support biometric authentication. Otherwise the user is redirected to an authentication page where user can choose to use a login or biometric authentication. This just takes another few lines of code.
In this article, we looked at how to integrate biometric authentication in mobile apps and associate it with an application user. The main benefit of biometric authentication is that you can easily authenticate the user without remembering and entering complex passwords. As you have seen in this article, it is very easy to integrate biometric authentication in your apps.
We achieved this using NativeScript. To learn more about NativeScript with Angular click here.
Moreover, as you can see, we used Kinvey to handle the Login, Registration and Logout functionality without having a headache of maintaining sessions and storing the user details in the database. Kinvey does it all for you. If you’d like to get started with Kinvey please sign up for free account.
Get Started with Kinvey
You can take a look at the full source code used in this article on GitHub here.
Continue reading...